Image Randomizers and You
Jul 21, 2021 19:59:51 GMT -5
Mongo the Destroyer, Dave D-Flipz, and 3 more like this
Post by Kris on Jul 21, 2021 19:59:51 GMT -5
Okay, so to start us off... we're gonna start with the trick that I used to have all the different images rotate for the header for the July 2020 layout of the forums. Just in case you come across this after the layout has changed, I'm gonna post it right here.

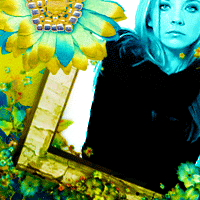
Now for those who are not familiar with what I mean by the image rotating, go ahead and refresh the page. See how a different image is now displayed? That's the image randomizer doing its magic.
Pretty neat, huh?
So how do you do it yourself? There's a few sites out there that do this trick, but the one I use is [randimg]. Click on the link, there, to go to the site. It's been in beta for as long as I've known about it, which has been for a few years now... but that's neither here nor there. Signing up's simple, and it's free besides.
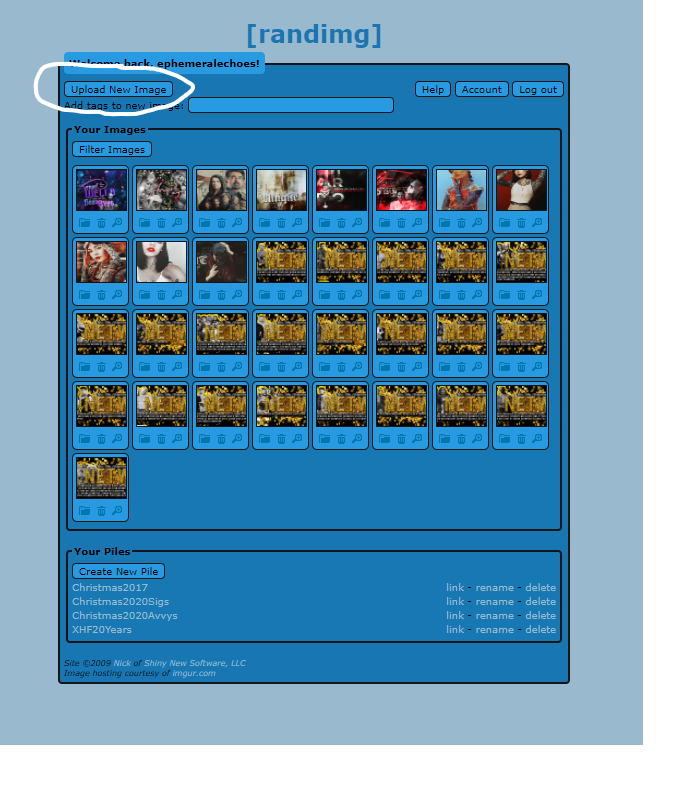
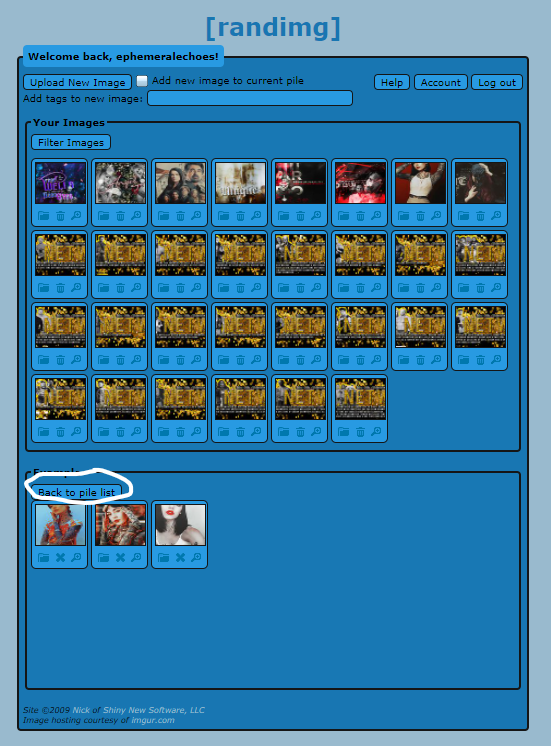
Now, once you've logged in, the interface is pretty minimal and easy to follow. For example, here's my home page.

A 'pile' of images is what you use to rotate through a group of images like the header I used for an example. I don't know the details of how the code works, unfortunately, but the name of the pile is what the URL for your image will be. For example, the URL for the headers I used was pile.randimg.net/3/17/191798/XHF20Years.png, with the pile name being the bit right before the .png. As a matter of fact, you know what? Here.
Where I circled is the pile that is in use for the example. Makes sense? Good.
So how do we make the pile? Well first, we need to upload some images to go into the pile. Click this button here to do that.
(Where did that tiny little white mark come from?! Bah, it's not important. ONWARD!)
It works just like any other open/upload/save kind of deal as anything else with Chrome/Edge/FireFox. Once your images are uploaded, they'll appear here.
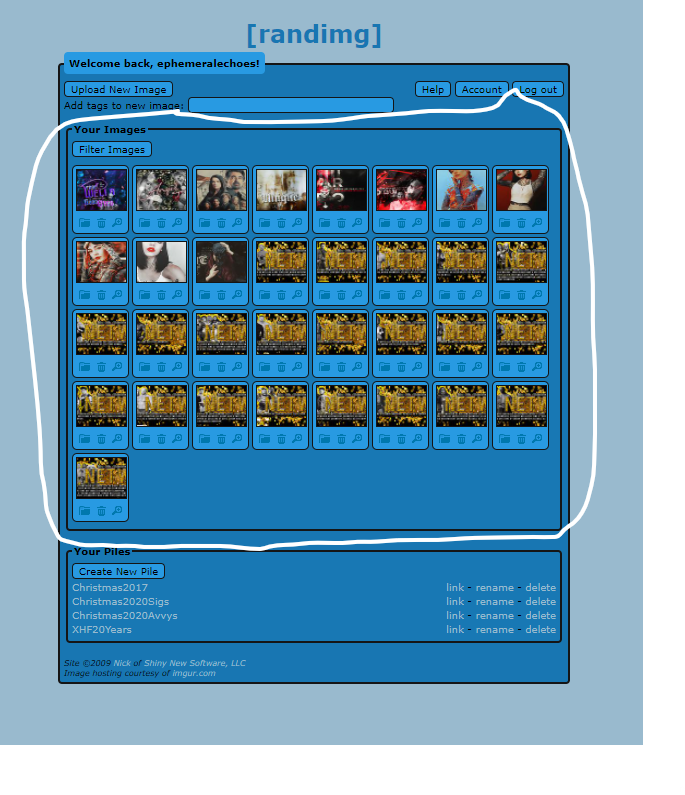
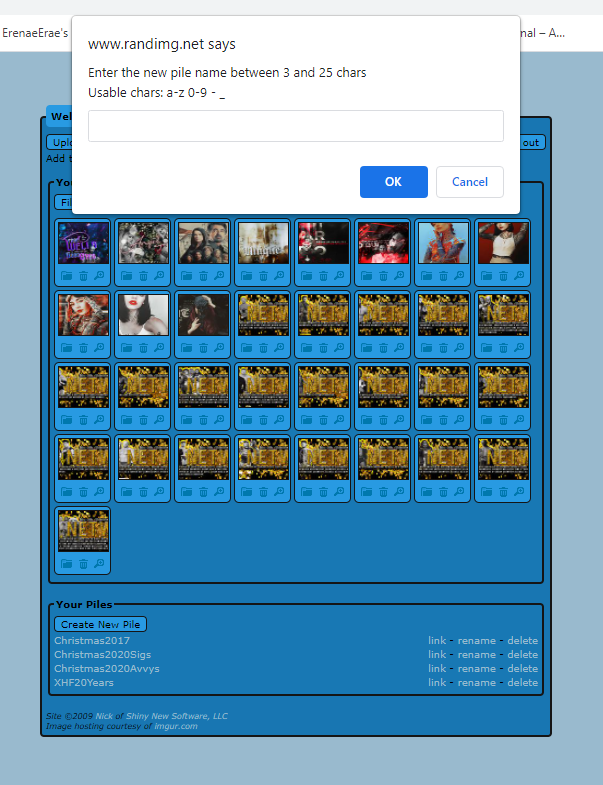
And now... to build our pile. Click this button here--
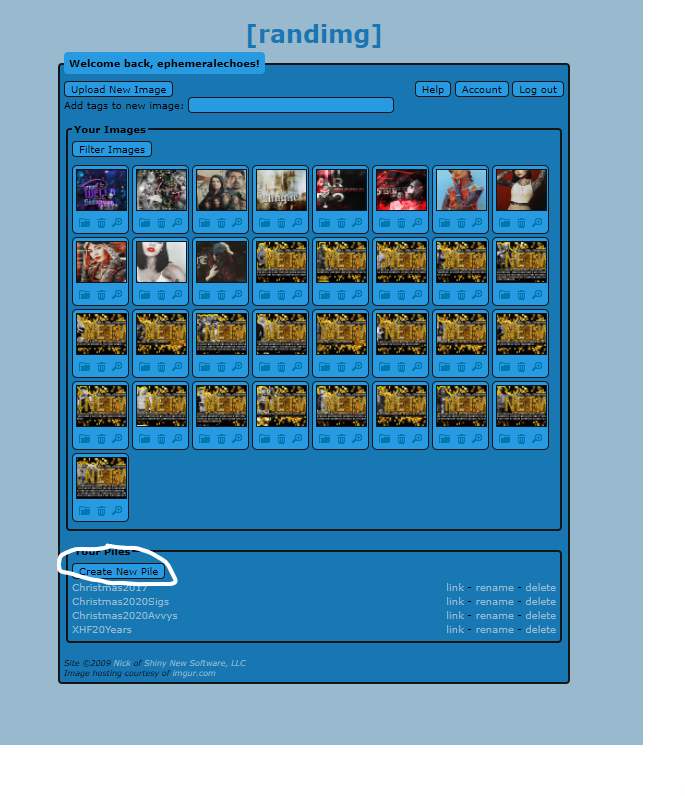
--and it'll bring up this box here. Follow the directions for naming your pile.
(Begone, random white dot! MUAHAHAHA~!)
Once it's named, it'll show up in the bottom box. Now, open it by double-clicking on it.
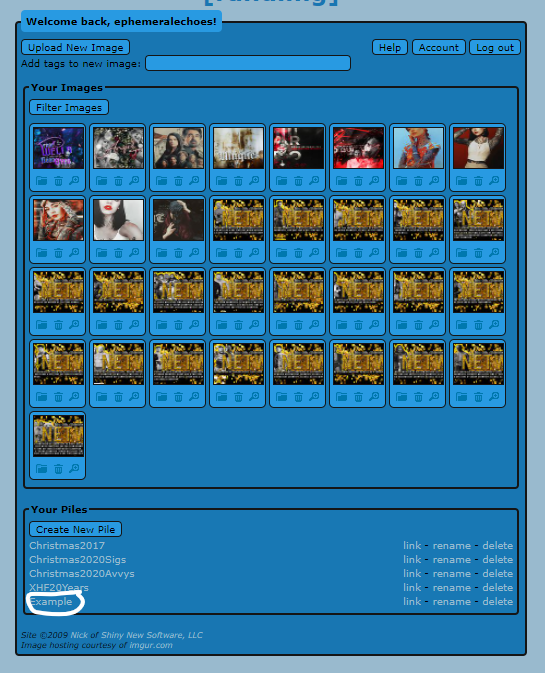
(Ain't I creative in how I name things?)
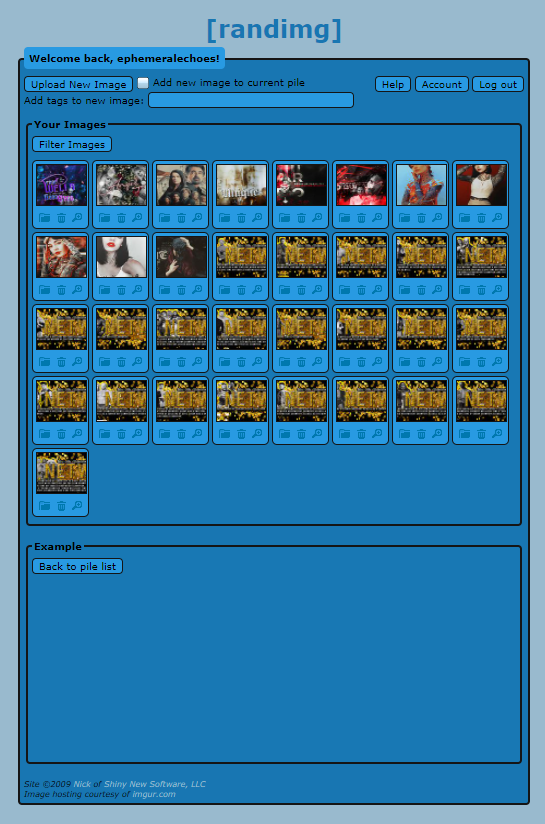
Anyway, doing that will pop open this big ol' empty box. This is where you will drag your images into your pile. So it'll go from this...
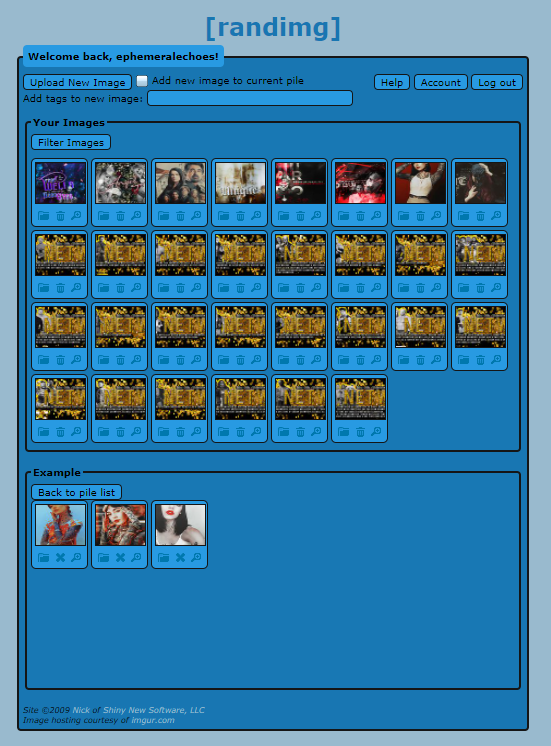
...to this when you're done.
From there, click 'Back to Pile List', which is here.
Now, to get the URL, you click right here, cut or copy the URL...
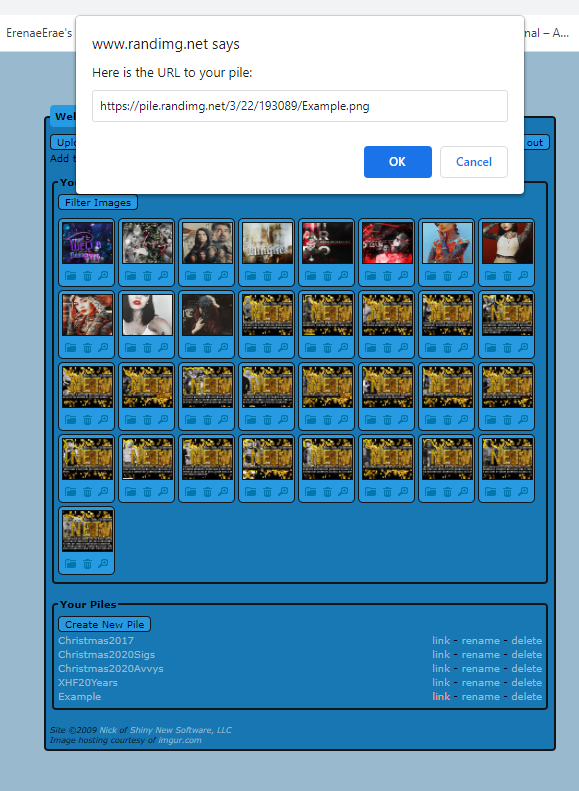
And then put it where you'd usually put the URL for your signature/avatar/what-have-you. And if you wanna know if it works right? Just hit refresh.

And that about does it, I think! I can answer any questions you have down below. I know I went into pretty extreme detail, but this is a test of my own since this is simple. I'll be explaining far more complex things, so is this a good level of detail keeping that in mind?
Please let a Bitchmaker™ know, and go ahead and give it a whirl!
♥
- Kris
Now for those who are not familiar with what I mean by the image rotating, go ahead and refresh the page. See how a different image is now displayed? That's the image randomizer doing its magic.
Pretty neat, huh?

So how do you do it yourself? There's a few sites out there that do this trick, but the one I use is [randimg]. Click on the link, there, to go to the site. It's been in beta for as long as I've known about it, which has been for a few years now... but that's neither here nor there. Signing up's simple, and it's free besides.
Now, once you've logged in, the interface is pretty minimal and easy to follow. For example, here's my home page.
A 'pile' of images is what you use to rotate through a group of images like the header I used for an example. I don't know the details of how the code works, unfortunately, but the name of the pile is what the URL for your image will be. For example, the URL for the headers I used was pile.randimg.net/3/17/191798/XHF20Years.png, with the pile name being the bit right before the .png. As a matter of fact, you know what? Here.
Where I circled is the pile that is in use for the example. Makes sense? Good.
So how do we make the pile? Well first, we need to upload some images to go into the pile. Click this button here to do that.
(Where did that tiny little white mark come from?! Bah, it's not important. ONWARD!)
It works just like any other open/upload/save kind of deal as anything else with Chrome/Edge/FireFox. Once your images are uploaded, they'll appear here.
And now... to build our pile. Click this button here--
--and it'll bring up this box here. Follow the directions for naming your pile.
(Begone, random white dot! MUAHAHAHA~!)
Once it's named, it'll show up in the bottom box. Now, open it by double-clicking on it.
(Ain't I creative in how I name things?)
Anyway, doing that will pop open this big ol' empty box. This is where you will drag your images into your pile. So it'll go from this...
...to this when you're done.
From there, click 'Back to Pile List', which is here.
Now, to get the URL, you click right here, cut or copy the URL...
And then put it where you'd usually put the URL for your signature/avatar/what-have-you. And if you wanna know if it works right? Just hit refresh.
And that about does it, I think! I can answer any questions you have down below. I know I went into pretty extreme detail, but this is a test of my own since this is simple. I'll be explaining far more complex things, so is this a good level of detail keeping that in mind?
Please let a Bitchmaker™ know, and go ahead and give it a whirl!
♥
- Kris